|

This tutorial is by Maria José do Rio Tinto, whom I thank for
letting me translate her tutorials.
*
Original here
*
Tubes

*
Material

*
Plugins
Two Moon
You can find these plugins on the websites of:
Renée
Cloclo
SCRIPT
Open the mask in PSP and minimize
Open a new transparent image with 900x600px
Choose two colors from your images
Prepare a Gradient Radial
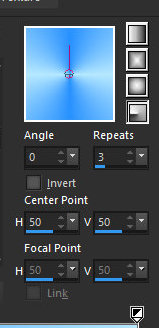
Paint the image with the gradient
Effects / Plugins / Two Moon / Emboston
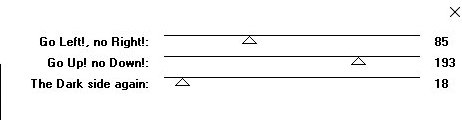
Effects / plugins / Two Moon / Rotate and Fade Away
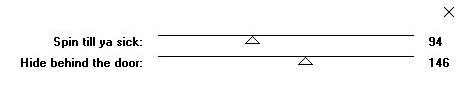
Effects / Plugins / Two Moon / Wish it would Rain
Add new layer
Fill with white
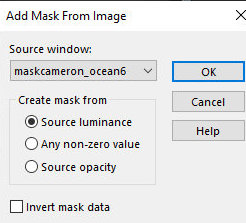
Layers / New Mask layer / From Image / Mask [
MaskCameron_ocean6]
(optional) Effects / Edge Effects / Enhance
Merge Group
Activate the Raster 1 layer
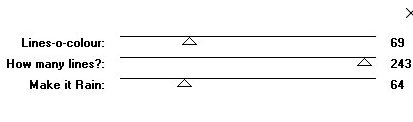
Effects / Plugins / Two Moon / Quilt
Activate the top layer
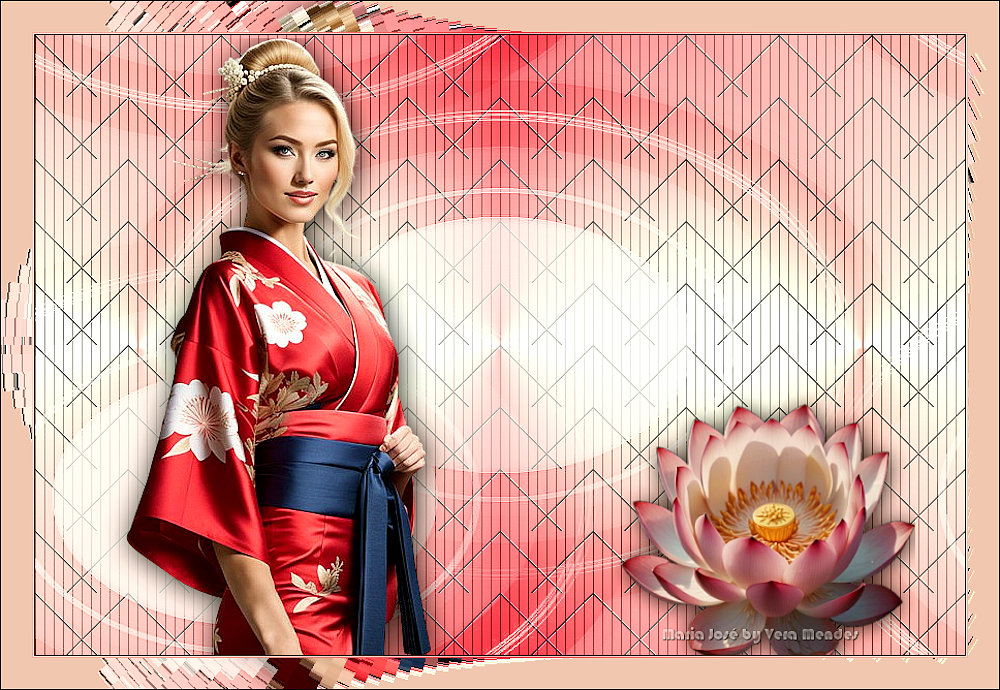
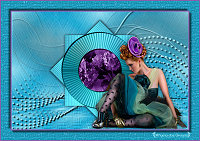
Copy the character tube and paste it as a new layer
Resize according to your image
Position as desired
Drop shadow of your choice
(Optional) Copy a decorative tube and paste it as a new layer
Drop Shadow of your choice
Image / Add borders / 1px / black
Image / Add borders / 1px / white
Image / Add borders / 1px / any color
Select this last 1px border with the magic Wand (tolerance/feather=0)
Paint the selection with the gradient
Selections / Select All
Image / Add borders / 30px / white or another color of your choice
Selections / Invert
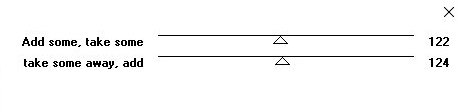
Effects / plugins / Two Moon / Emboston
Effects / Plugins / Two Moon / Grinder

Select none
Image / Add borders / 1px / black
Place the signatures
Merge All
Save as jpeg
*
Tutorial traduzido em 17/08/24
*
 |