|

This tutorial is by Angela das Graças, who I thank
for letting me translate her tutorials.
*
Original here
*
Tubes

*
Material

*
Plugins
FF Gallery M / Center Square Tiler
FF Gallery M / Picasso's Last Word
SCRIPT
1.
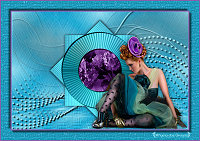
You will need a tube character
Open the mask on psp and minimize
Open a new transparent image measuring 800 x600px
Choose two colors for your tube, one dark for the foreground and one
light for the background.
2.
Prepare a Rectangular gradient - invert marked
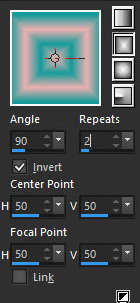
Paint the image with the gradient
Effects / edge Effects / Enhance More
3.
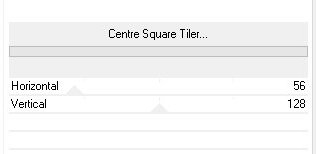
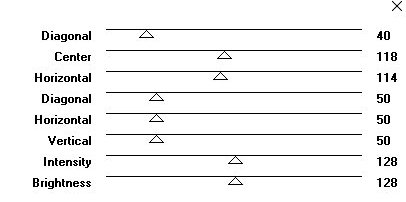
Effects / plugins / FF Gallery M / Center Square Tiler
Effects / Edge Effects / Enhance More
With the Magic Wand tool (tolerance=46 / Feather=0) select the
vertical bars
N.A.: There may be differences in width depending on the colors used
in the gradient
4.
Selections / Promote Selection to layer
Drop shadow: 3 3 80 10 black
Repeat with negative values: -3 -3
5.
Select none
Layers/duplicate
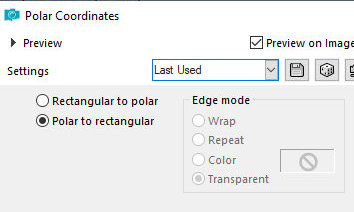
Effects / distortion Effects / Polar Coordinates / Polar to
rectangular marked
6.
Layers/Duplicate
Image/Mirror/Mirror Vertical
Merge down - Apply 2 times
7.
Layers/Duplicate
Image / Mirror / Mirror horizontal
Activate the Raster 1 layer
8.
Add new layer
Paint with light color
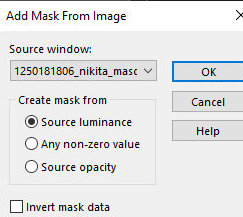
Layers / New mask layer / From Image / Mask [1250181806_nikita_masques]
9.
Merge Group
Drop shadow: 1 1 60 1 black
Activate the top layer
10.
Copy the tube character and paste as a new layer
Resize according to your tube
Position as desired
11.
Drop shadow of your choice
Merge Visible
Effects / Plugins / Graphic Plus / Cross Shadow
N.T.: In my version I changed the Cross shadow
setting, as the shadow was on top of the woman's face.
12.
Image / Add borders / 3px / light color
Image / Add borders / 3px / dark color
Image / Add borders / 30px / different color
13.
Select this 30px border with the Magic Wand (tolerance/feather=0)
Paint with the gradient from the beginning
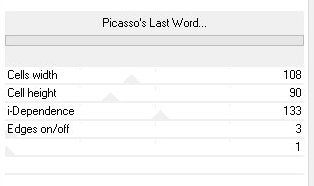
Effects / Plugins / FF Gallery M / picasso's LasT Word
A/N: If you prefer, colorize it. Depending on the
PSP version there may be a small difference
14.
Selections/Invert
Drop Shadow: 3 3 60 3 black
Repeat with negative values: -3 -3
15.
Select none
Image / Add borders / 3px / light color
Image / Add borders / 3px / dark color
16.
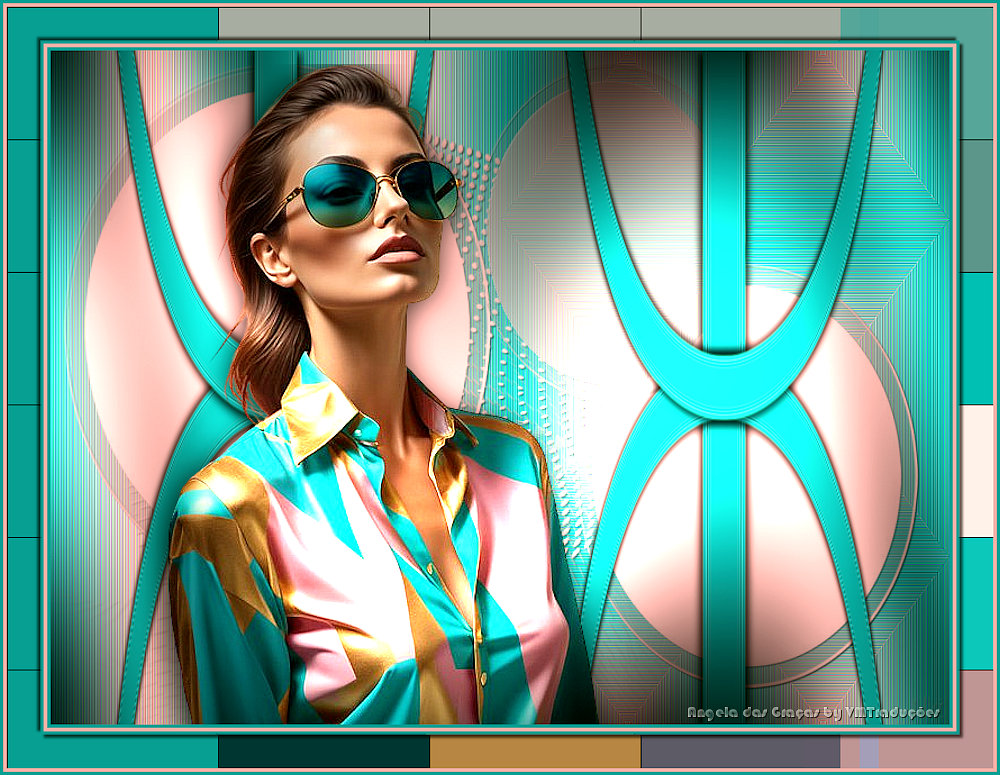
Put your signature
Merge All
Save as jpeg
*
Tutorial traduzido em 15/06/24
*
 |