|
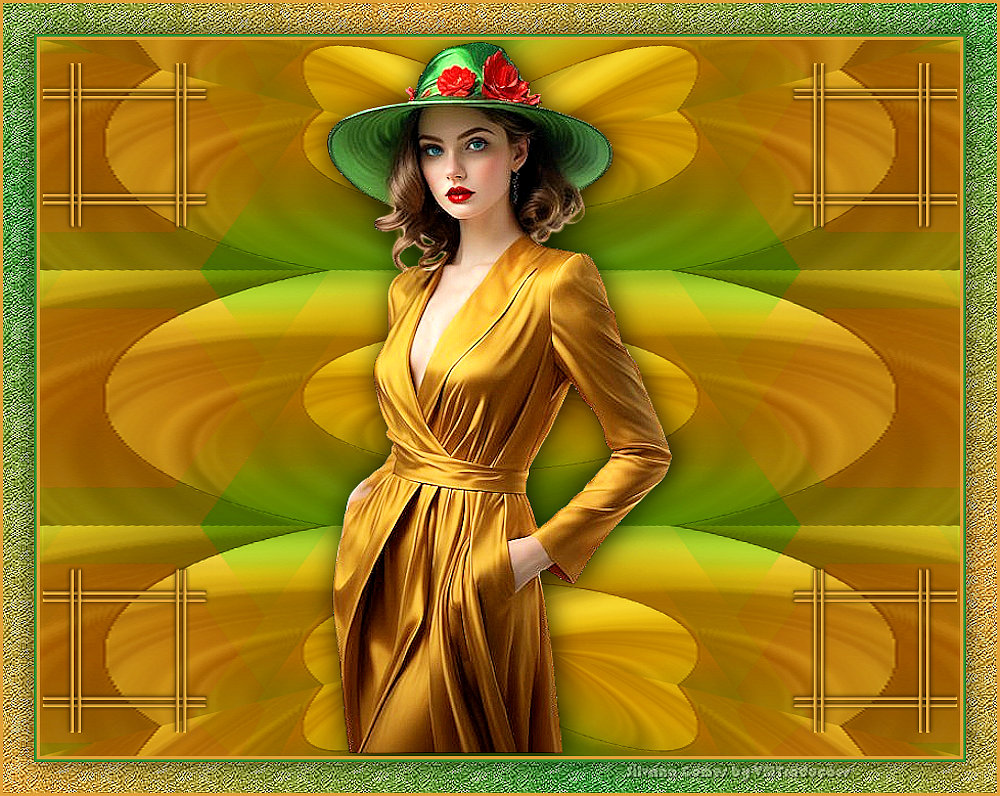

This tutorial is by Silvana Gomes,
who I thank for letting me translate her tutorials.
*
Original here
*
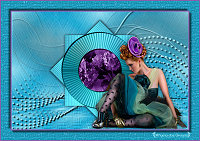
Tubes

*
Material

*
Plugins
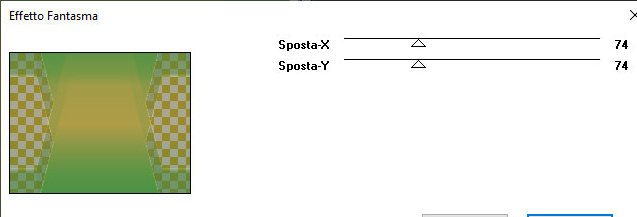
Italian Editors Effect / Effeto Fantasma
I.C.NET Software / Filters Unlimited 2.0 / Tile & Mirror
Unlimited 2.0 / Paper Textures
Simple / Top Left Mirror
You can find these plugins on the websites of:
Renée
Cloclo
SCRIPT
Step 1
Place the selection in the Selection folder on the psp
Choose two colors for your tubes: a dark one for the foreground and
a light one for the background
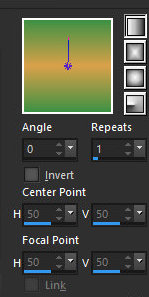
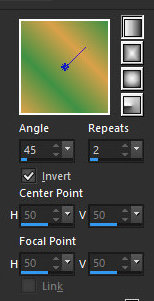
Prepare a Linear gradient
Open a new transparent image
measuring 900x700px
Paint the image with the gradient
Step 2
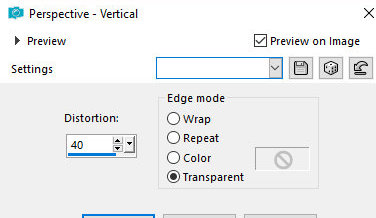
Effects / Geometric Effects / Vertical Perspective
Layers/Duplicate
Image / Mirror / Mirror Vertical
Merge down
Effects / Plugins / Italian Editors Effects / Effetto Fantasma
Step 3
Add new layer
Paint with the gradient
Selections / Select all
Copy the tube character and paste it into the selection
Select none
Step 4
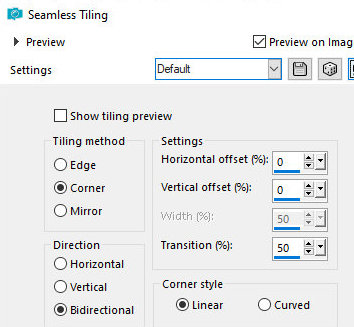
Effects / Image Effects / Seamless Tiling - default
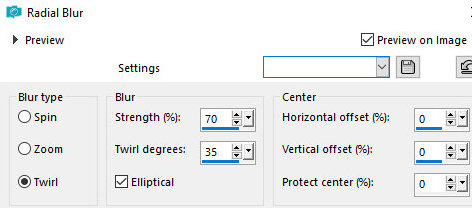
Adjust/blur/Radial Blur
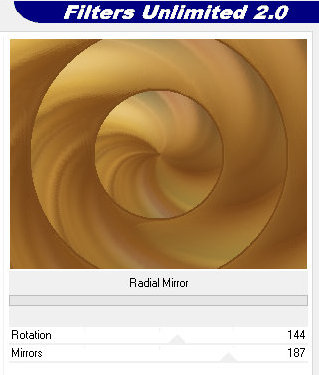
Effects / Plugins / Unlimited 2 /
Tile & Mirror / Radial Mirror
Layers / Properties / Blend Mode:
Overlay
Merge down
Step 5
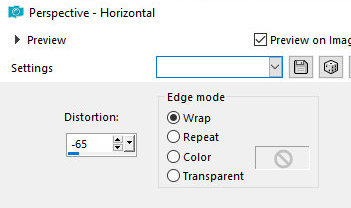
Effects / Gometric Effects / Horizontal perspective
Image/Mirror
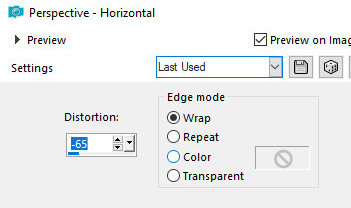
Effects / Geometric Effects / Perspective Horizontal same as above
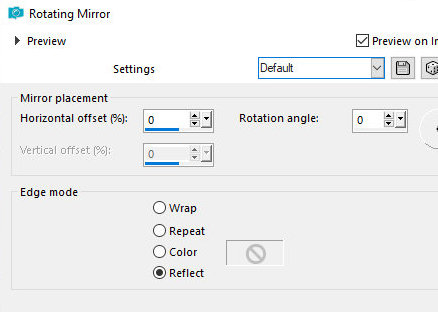
Effects / Reflection Effects /
rotating mirror - default
Add new layer
Step 6
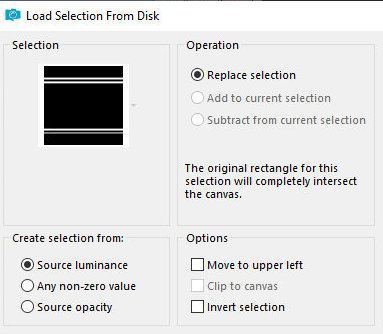
Selections / Load selection from disk / Selection [angelagmn-05]
Color the selection with the light
color
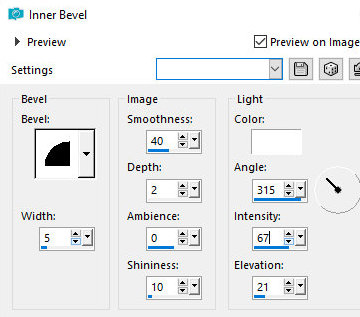
Effects / 3D Effects / Inner Bevel
Drop Shadow: 0 0 60 35 black
Select none
Step 7
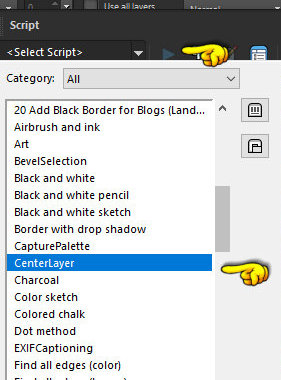
Enable Script: View /Toolbars / Script
Click on the arrow as shown in the print
Find and select the [centerLayer] script
Layers/Duplicate
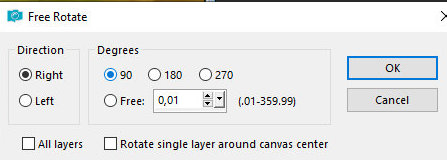
Image / Free Rotate [Right/90]
Step 8
Merge down
Image/Resize: 20% - all layers unchecked
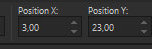
Activate the pick Tool and configure: X=3 / Y=23
Effects / Plugins / Simple / Top
Left Mirror
Copy the tube character and paste as a new layer
Step 9
Make adjustments: Resize/ Drop Shadow/ Position
Image / Add Borders / 3px / light color
Image / Add Borders / 3px / dark color
Image / Add Borders / 30px / light color
Select this 30px border with the magic Wand (tolerance/feather=0)
Step 10
Prepare a Linear gradient
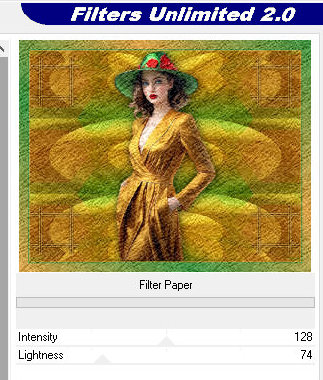
Effects / Plugins / Unlimited 2 /
Paper textures / Filter Paper
Effects / Edge Effects / Enhance
Selections/Invert
Drop shadow: 0 0 60 35 black
Step 11
Select none
Image / Add Borders / 3px / light color
Image / Add Borders / 3px / dark color
Step 12
Put signatures
Merge all
Save as jpeg
*
Tutorial traduzido em 17/07/2024
*

|