|
Tutorial de Tetê
Link tutorial original:
Snappy
|
| Tubes Principais:
VM Tubes
|
| Link material:

>Open the mask and minimize
> You will need: 1 character tube
|
| Plugins: VM Toolbox / Brightness
Noise
VM Toolbox / Motion Trail
VM Toolbox / Instant Tile
VM Toolbox / Mezzotinto Uno
|
SCRIPT
01. Open the material / Duplicate (shift+d) / Close the
originals
02. Choose two colors for your tube: a dark one for the
foreground and a light color for the background
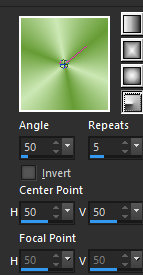
03. Prepare this gradient Radial(50 / 5 Invert unchecked; Center
Point: 50 / 50)
04. Open a new transparent image with 900 x 700px
05. Paint the image with the gradient
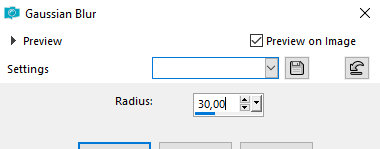
06.Adjust/blur/Gaussian Blur: 30
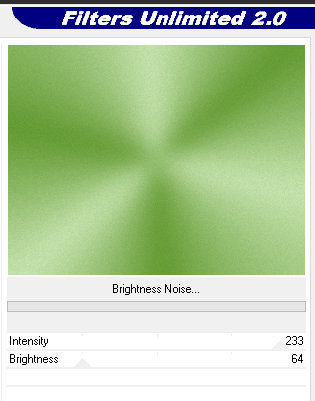
07. Effects / Plugins / Unlimited 2 / VM Toolbox / Brightness
Noise
233 / 64
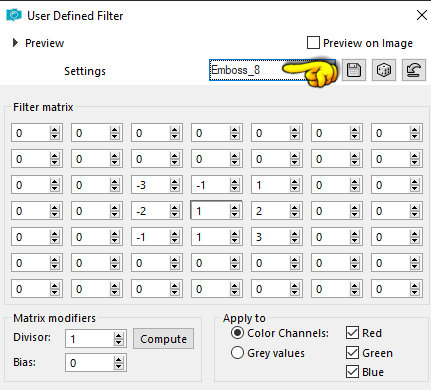
08. Effects / User Defined Filters / emboss 8
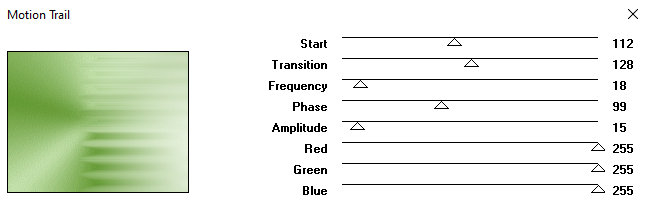
09. Effects / Plugins / VM Toolbox / Motion Trail - Default
112 / 128 / 18 / 99 / 15 / 255 / 255 / 255
10. Layers/duplicate
11. Image / Mirror / Mirror Horizontal
12. Layers / Properties / blend Mode: Lighten
13. Merge down
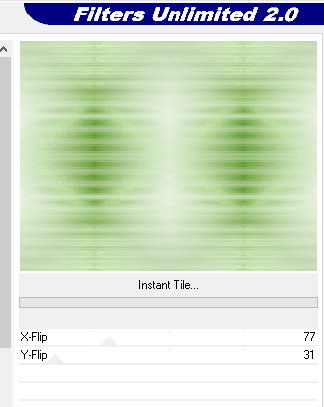
14. Effects / plugins / Unlimited 2 / VM Toolbox / Instant Tile
77 / 31
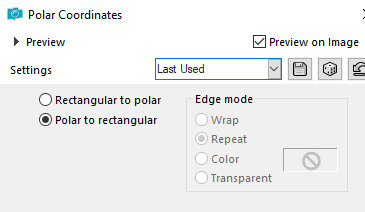
15. Effects / distortion Effects / polar coordinate / polar to
rectangular
16. Image / mirror / Mirror Vertical
17. Effects / edge effects / Enhance
18. Layers / New Raster Layer
19. Paint this layer with dark color
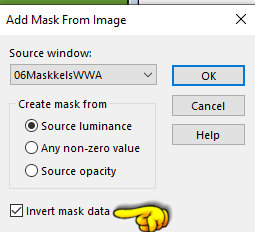
20. Layers / New mask Layer / From Image / Mask [06MaskkelsWWA]
-INVERT MARKED
21. Merge Group
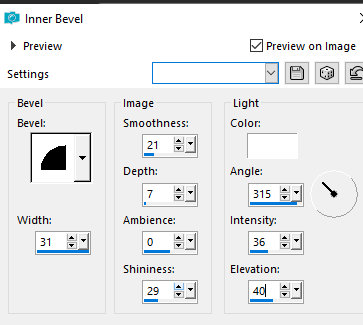
22. Effects / 3D Effects / Inner Bevel
Bevel: #2; Width = 31; 21/7/0/29; color: #FFFFFF; 315 / 36 / 40
23. Drop shadow: 2 2 70 2 black
24. Repeat Drop shadow with negative V and H
25. Image / Add borders / symmetric marked / 2px / black
26. Selections / Select all
27. Image / Add borders / symmetric marked / 40px / white
28. Selections / invert
29. Paint with the gradient
30. Selections / Promote selections to layer
31. Layers/duplicate
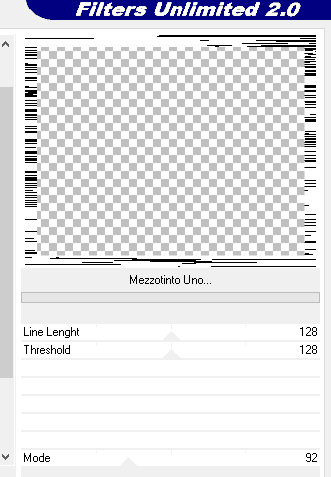
32. Effects / Plugins / Unlimited 2 / VM Toolbox / Mezzotinto
Uno
128 / 128; 92
33. Layers / Properties / Blend Mode: Soft Light
34. Merge down
35. Selections/invert
36. Drop shadow: 0 0 70 40 black
37. Select none
38. Copy the tube character and paste it as a new layer
39. Make any adjustments you deem necessary (resize, sharpen,
drop shadow, position)
40. Image / Add borders / symmetric marked / 2px / black
41. Resize your tag to initial values: 900 x 700px (optional)
42.Adjust/Sharpness/Sharpen
43. Put your signature
44. Merge All
45. Save as jpeg
*