|
Tutorial de Tetê
Link tutorial original:
Sideral
|
| Tubes Principais:
VM Tubes
|
| Link material:
No Material
You'll need:
> 1 character tube
|
| Plugins: Andrews 13 / Solar Winds
DragonFly / Sinedots 2
|
SCRIPT
1.Open material / Duplicate (shift + d) / Close originals
2.Choose two colors, a dark one for the foreground and a light
color for the background
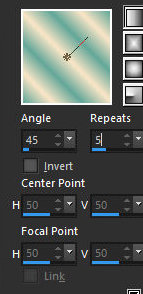
3.Prepare a Linear gradient
linear / 45 /5 /invert unchecked
4.Open a new transparent image measuring 1000 x 800 px
5.Paint with the gradient
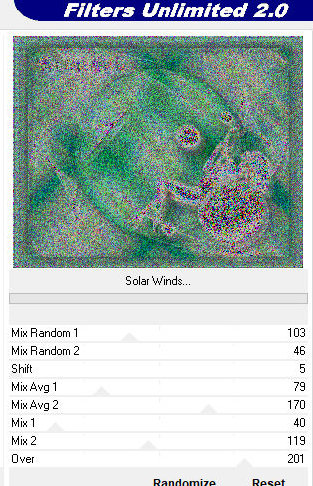
6.Efects /Plugins / Andrew's Filter's 13 / Solar Winds
103 / 46 / 5 / 79 / 170 / 40 / 119 / 201
7.Layers/Duplicate
8.Image/Mirror/Mirror Horizontal
9.Layers / Properties / blend Mode: Overlay
10.Merge down
11.Layers/duplicate
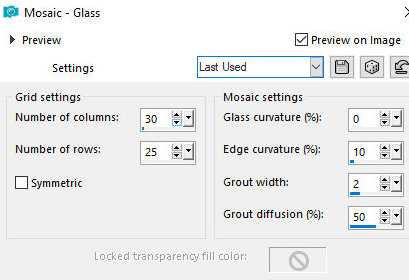
12.Effects / Texture Effects / Mosaic - Glass
30/25; Symmetric unchecked; 0 / 10 / 2 / 50
13.Layers/Properties/opacity: 85%
14.Activate the Raster 1 layer
15.Effects / edge Effects / enhance More
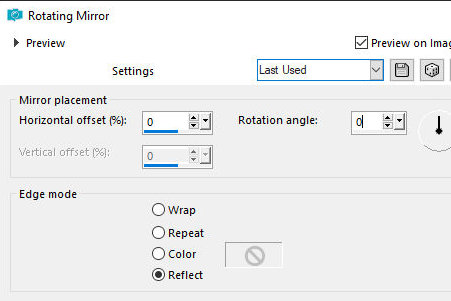
16.Effects / Reflection Effects / Rotating Mirror
17.Activate the top layer
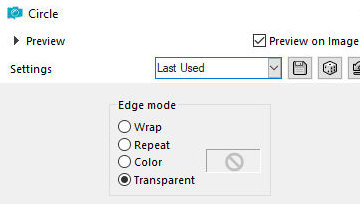
18.Effects / Geometric Effects / circle
19.Image/Resize: 80% - all layers unchecked
20.Drop shadow: 0 0 80 40 black
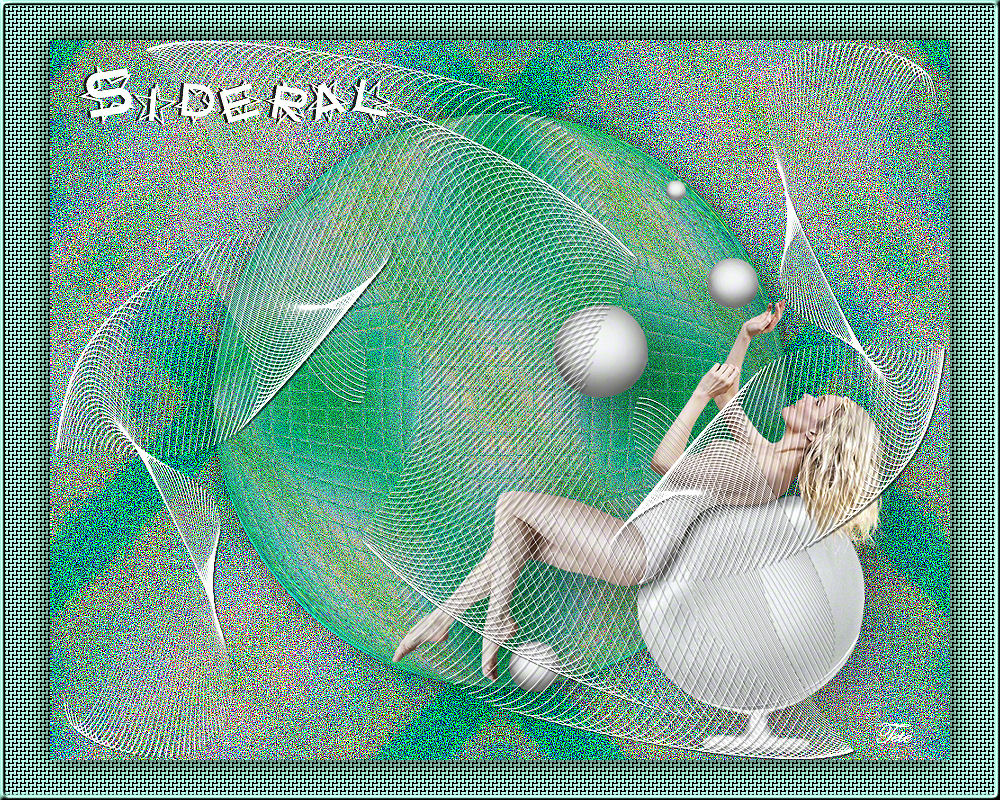
21.Copy the tube character and paste it as a new layer
22. Make any adjustments you deem necessary (resize, sharpen,
drop shadow, position)
23.Merge visible
24.Layers / New Raster Layer
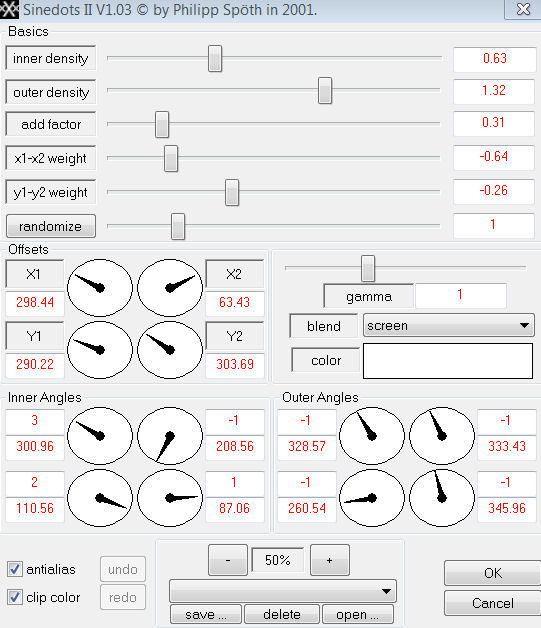
25.Effects / Plugins / Dragon Fly / Sinedots 2 (the color is at
your discretion)
26.Layers/Duplicate
27.Image/Mirror
28.Image/Mirror/Mirror Vertical
29.Merge down
Drop shadow> 2 2 60 2 black
30.Merge visible
31.Image/Resize: 90% - all layers unchecked
32.Layers / New Raster Layer
33.Layers / Arrange / Send to Bottom
34.Paint this layer with the foreground color but in a lighter
tone
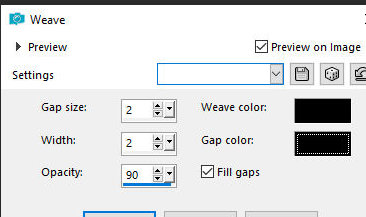
35.Effects / Texture Effects / weave
36.Activate the top layer
37.Drop shadow: 0 0 80 40 black
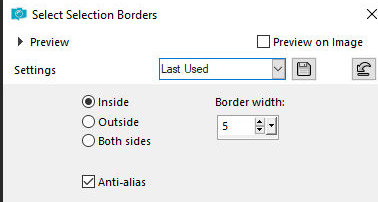
38.Selections / select all
39.Selections / Modify / select selection borders
40.Color the selection with the light color you used in item 34
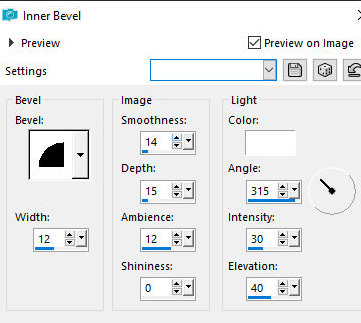
41.Effects / 3D Effects / Inner Bevel
42.Select none
43.Copy the tube deco and paste as a new layer
44.Put your signature
45.Merge All
46.Adjust/Sharpness/sharpen
47.Save as jpeg