|


This tutorial is from Tetê, who I thank for
letting me translate his tutorials
*
Original -
AQUI
*
Material


>Open the mask on the psp and minimize
> Save the selection in the Selections folder on the psp
> You will need a tube character, a New York landscape or depending
on your work, and a wordart
*
Plugins:
Toadies / Weaver
<Bkg sf10 II> / FH PatchWork
FM Tile Tools / Saturation Emboss
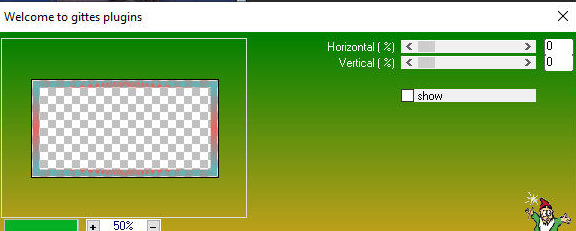
gittes plugins / gittes supertile
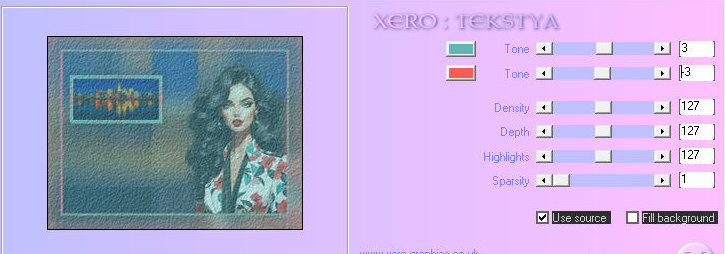
Xero / Tekstya
Filter Factory Gallery M / Ambrosia
ROTEIRO
01. Open the material on the psp / duplicate (shift+d) / Close the
originals
02. Choose two colors for your tube: a dark one for the foreground
and a light one for the background
03. Open a new transparent image measuring 900 x 650px
04. Selections / Select All
05. Copy the .jpg image (in the material) and paste it into the
selection
06. Select none
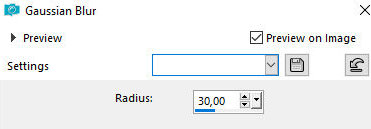
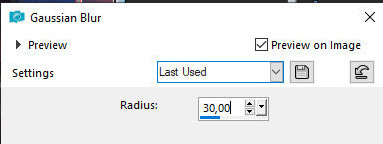
07. Adjust / Blur / Gaussian Blur=30
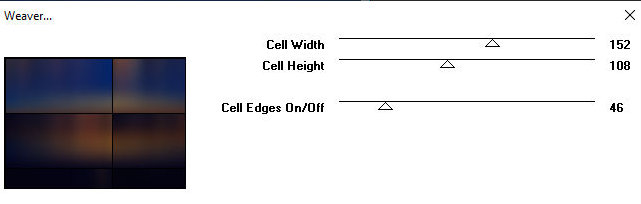
08. Effects / Plugins / toadies / Weaver
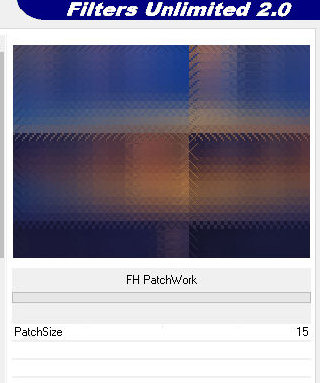
09. Effects / Plugins / Unlimited 2 / BKG designer sf10 II / FH
Patchwork
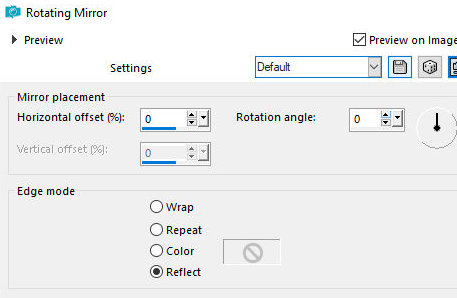
10. Effects / Reflection Effects / Rotating Mirror - Default
11. Copy the tube character and paste it as a new layer
12. Resize if necessary / Position on the right side / Do not apply
Drop shadow
13. Layers/duplicate
14. Activate the original tube layer (layer below)
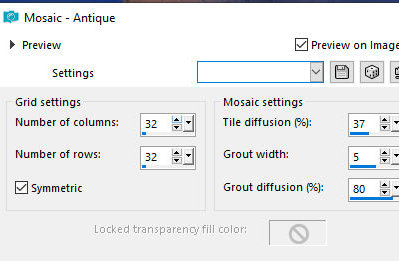
15. Effects / Texture Effects / Mosaic antique
16. Layers / Properties / Opacity=55%
17. Activate the top layer (tube copy layer)
18. Drop shadow of your choice
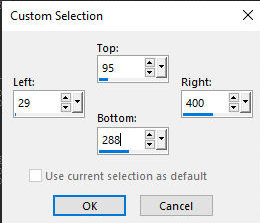
19. Activate the Selection Tool / custom Selection
95 29 400 288
20. Add new layer
21. Copy the .jpg image (in the material or other of your choice)
and paste it into the selection
21a. Keep selection
22. Effects / Plugins / FM Tile Tools / Saturation Emboss - Default

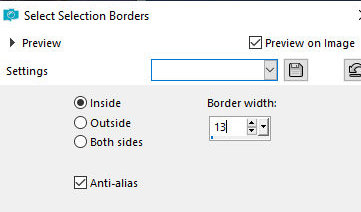
23. Selections / Modify / Select selection borders
20. Add new layer
21. Copy the .jpg image (in the material or other of your choice)
and paste it into the selection
21a. Keep selection
22. Effects / Plugins / FM Tile Tools / Saturation Emboss - Default

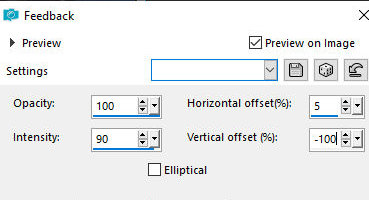
27. Effects / Reflection Effects / Feedback
28. Effects / plugins / Gittes Plugins / Gittes Supertile
29. Effects / Edge Effects / Enhance More
30. Select none
31. Merge down - 2 times
32. Drop shadow: 0 0 80 40 black
33. Image / Add borders / Symmetric checked
3px / light color
3px / dark color
3px / light color
34. Copy the image (it will remain in memory)
35. Selections / Select All
36. Image / Add borders / Symmetric marked / 50px / white
37. Selections/Invert
38. Paste the image copied above into the selection
39. Adjust / blur / Gaussian Blur=30
40. Effects / Plugins / Xero / Tekstya
41. Effects / Edge effects / Enhance
42. Select none
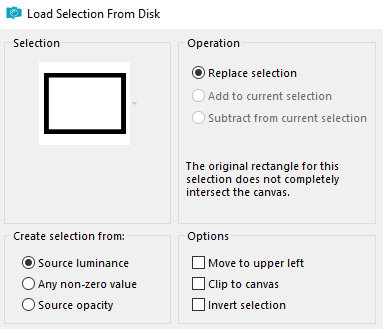
43. Selections / Load/Save Selection / Load selection from disk /
Selection [sel_tete-lovenwyork]
44. Add new layer
45. Paint with white color
46. Effects / Plugins / FF Gallery M / Ambrosia

47. Layers / New Mask layer / From Image / Mask [OBG_Mask_178]

48. Merge group
49. Layers / Properties Blend Mode: Overlay or other of your choice
50. Select none
51. Selections / Load/ Save Selection / Load selection from disk /
Selection [sel_tete_lovenewyork]
52. Selections / Modify / Expand=9

53. Activate the background layer
54. Drop shadow: 0 0 80 40 black
55. Select none
56. Merge visible
57. Copy the wordart and paste as a new layer
58. Drop shadow of your choice
59. Position where you see fit
Note: You can replace wordart with text you type
60. Image / Add borders / symmetric marked
3px / light color
3px / dark color
3px / light color
61.Image / Resize: 900 x 650px - all layers checked (optional)
62. Adjust / sharpness / sharpen
63. Put your signature
Merge All
Save as jpeg
*
|
Value the translator’s work. In
addition to the link to the original work, also include
the translation link. Thank you very much!
Valorar el trabajo del traductor.
Además del enlace a la obra original, incluya también el
enlace a la traducción. ¡Muchas gracias! |
Tutorial traduzido em
13/01/2024
*
 |