|
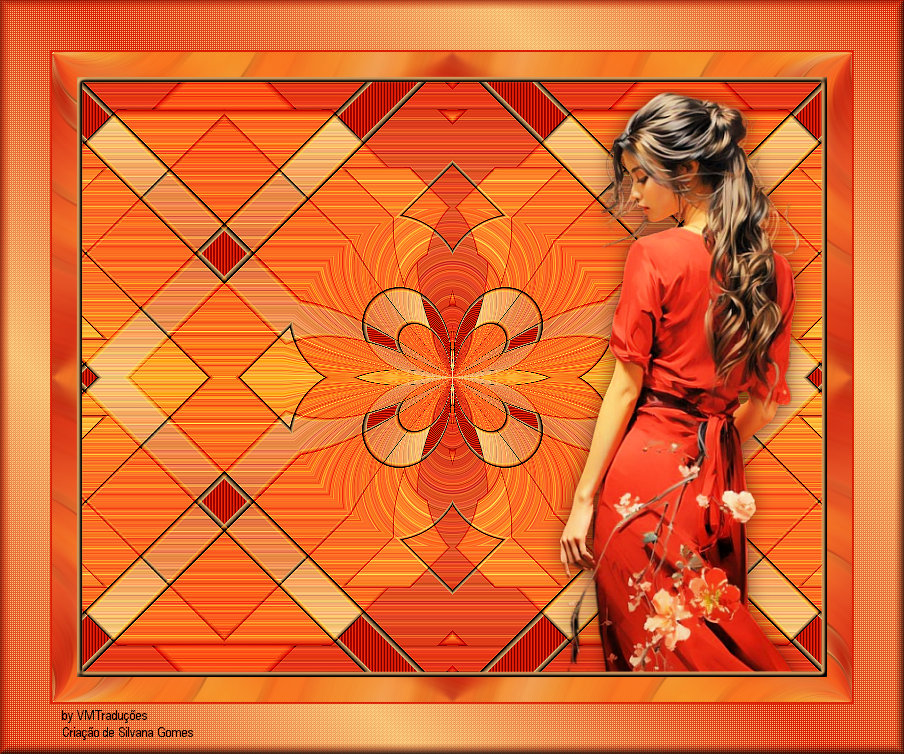
Tutorial de Silvana Gomes
Link tutorial original:
Angela
|
| Tubes Principais:
VM Tubes
|
| Link material:


> Salve a seleção na pasta Selections do PSP
|
| Plugins: No plugins
|
SCRIPT
01. Open the material / Duplicate (shift+d) / Close the
originals
02. Choose two colors for your tube: a dark color for the
background and a light color for the background
03. Open a new transparent image with 800 x 650
04. Paint the image with dark color
05. Layers / New Raster Layer
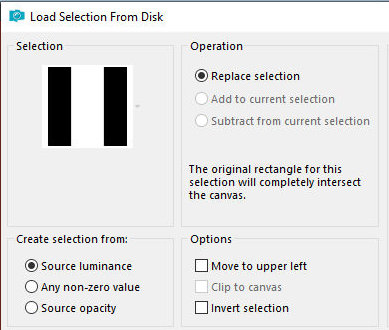
06. Selections / Load selection from disk / selection [angelagmn_blocks]
07. Paint the selection with this Linear gradient (0/0/invert
marked)
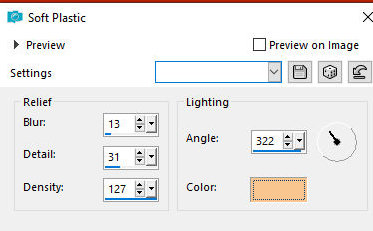
08. Effects / Texture Effect / soft Plastic
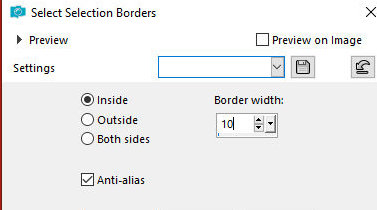
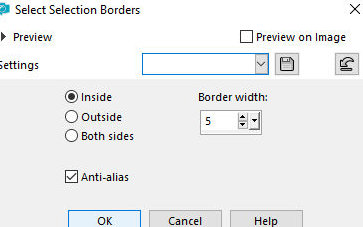
09. Selections / Modify / Select selection borders
10. Paint the selection with the background color
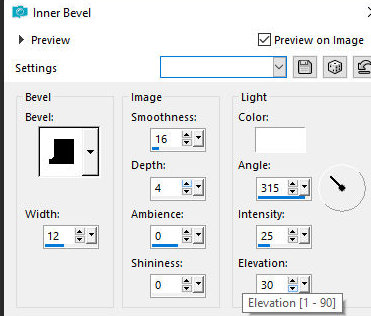
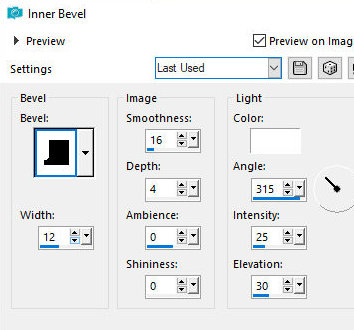
11. Effects / 3D Effects / Inner Bevel
11. Select none
12. Layers / Duplicate
13. Image / Resize: 60% - all layers unchecked
14. Layers/Duplicate
15. Image / Resize: 60% - all layers unchecked
16. Merge down - apply twice
17. Layers/Duplicate
18. Image / Mirror / Mirror Horizontal
19. Merge down
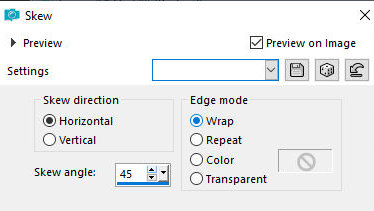
20. Effects / Geometric Effects / Skew
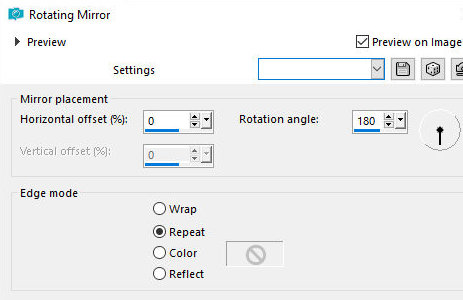
21. Effects / reflection Effects / Rotating Mirror
22. Layers/Duplicate
23. Image / Mirror / Mirror Vertical
24. Layers / Properties / blend mode: overlay
25. Merge down
26. Activate the Raster 1 layer
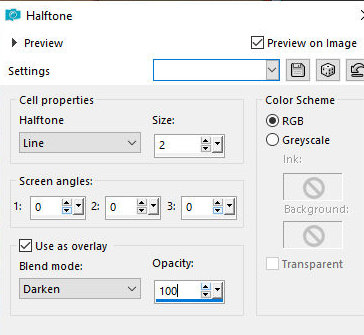
27. Effects / Artistic Effects / Halftone
28. Merge visible
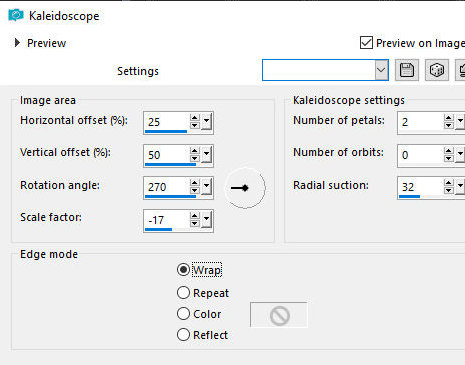
29. Effects / Reflection Effects / Kaleidoscope
30. Copy the tube character and paste it as a new layer
31. Drop shadow of your choice
32. Activate the Merged layer
33. Layers/Duplicate
34. Layers / Arrange / Bring to top
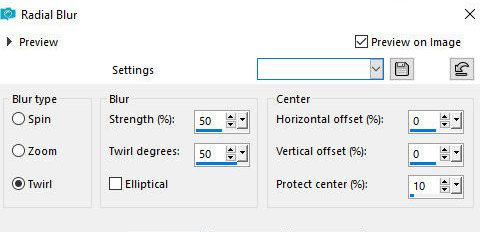
35.Adjust/blur/Radial Blur
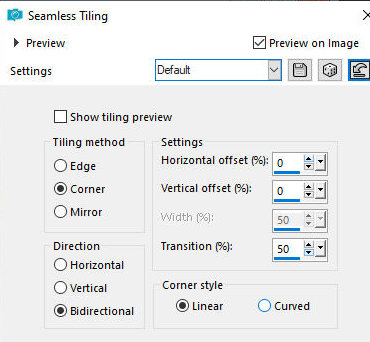
36. Effects / Image Effects / Seamless Tiling - default
37. Selections / Select All
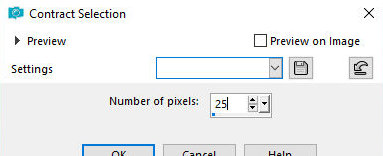
38. Selections/Modify/Contract: 25
39. Edit/clear
40. Selections / Modify / Select selection borders
41. Paint the selection with the background color
42. Effects / 3D Effects / Inner Bevel
43. Select none
44. Image / add borders / symmetric marked:
2px / foreground color
50px / background color
45. Select this 50px border with the Magic Wand (tolerance/feather=0)
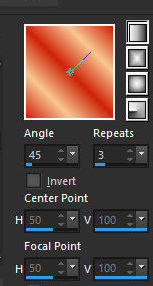
46. Paint with this Linear gradient (45/3/invert unchecked)
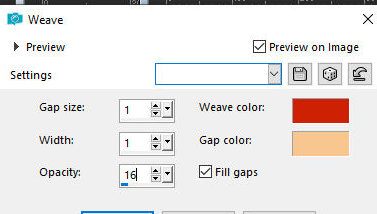
47. Effects / Texture Effects / Weave
48. Effects / 3D Effects / Buttonize
49. Select none
50. Put your signature
51. Merge All
52. Save as jpeg
*